DEXIS IS ScanFlow
Scan Gauge Scans & Exporting .STL’s
Step 1: Start New Case
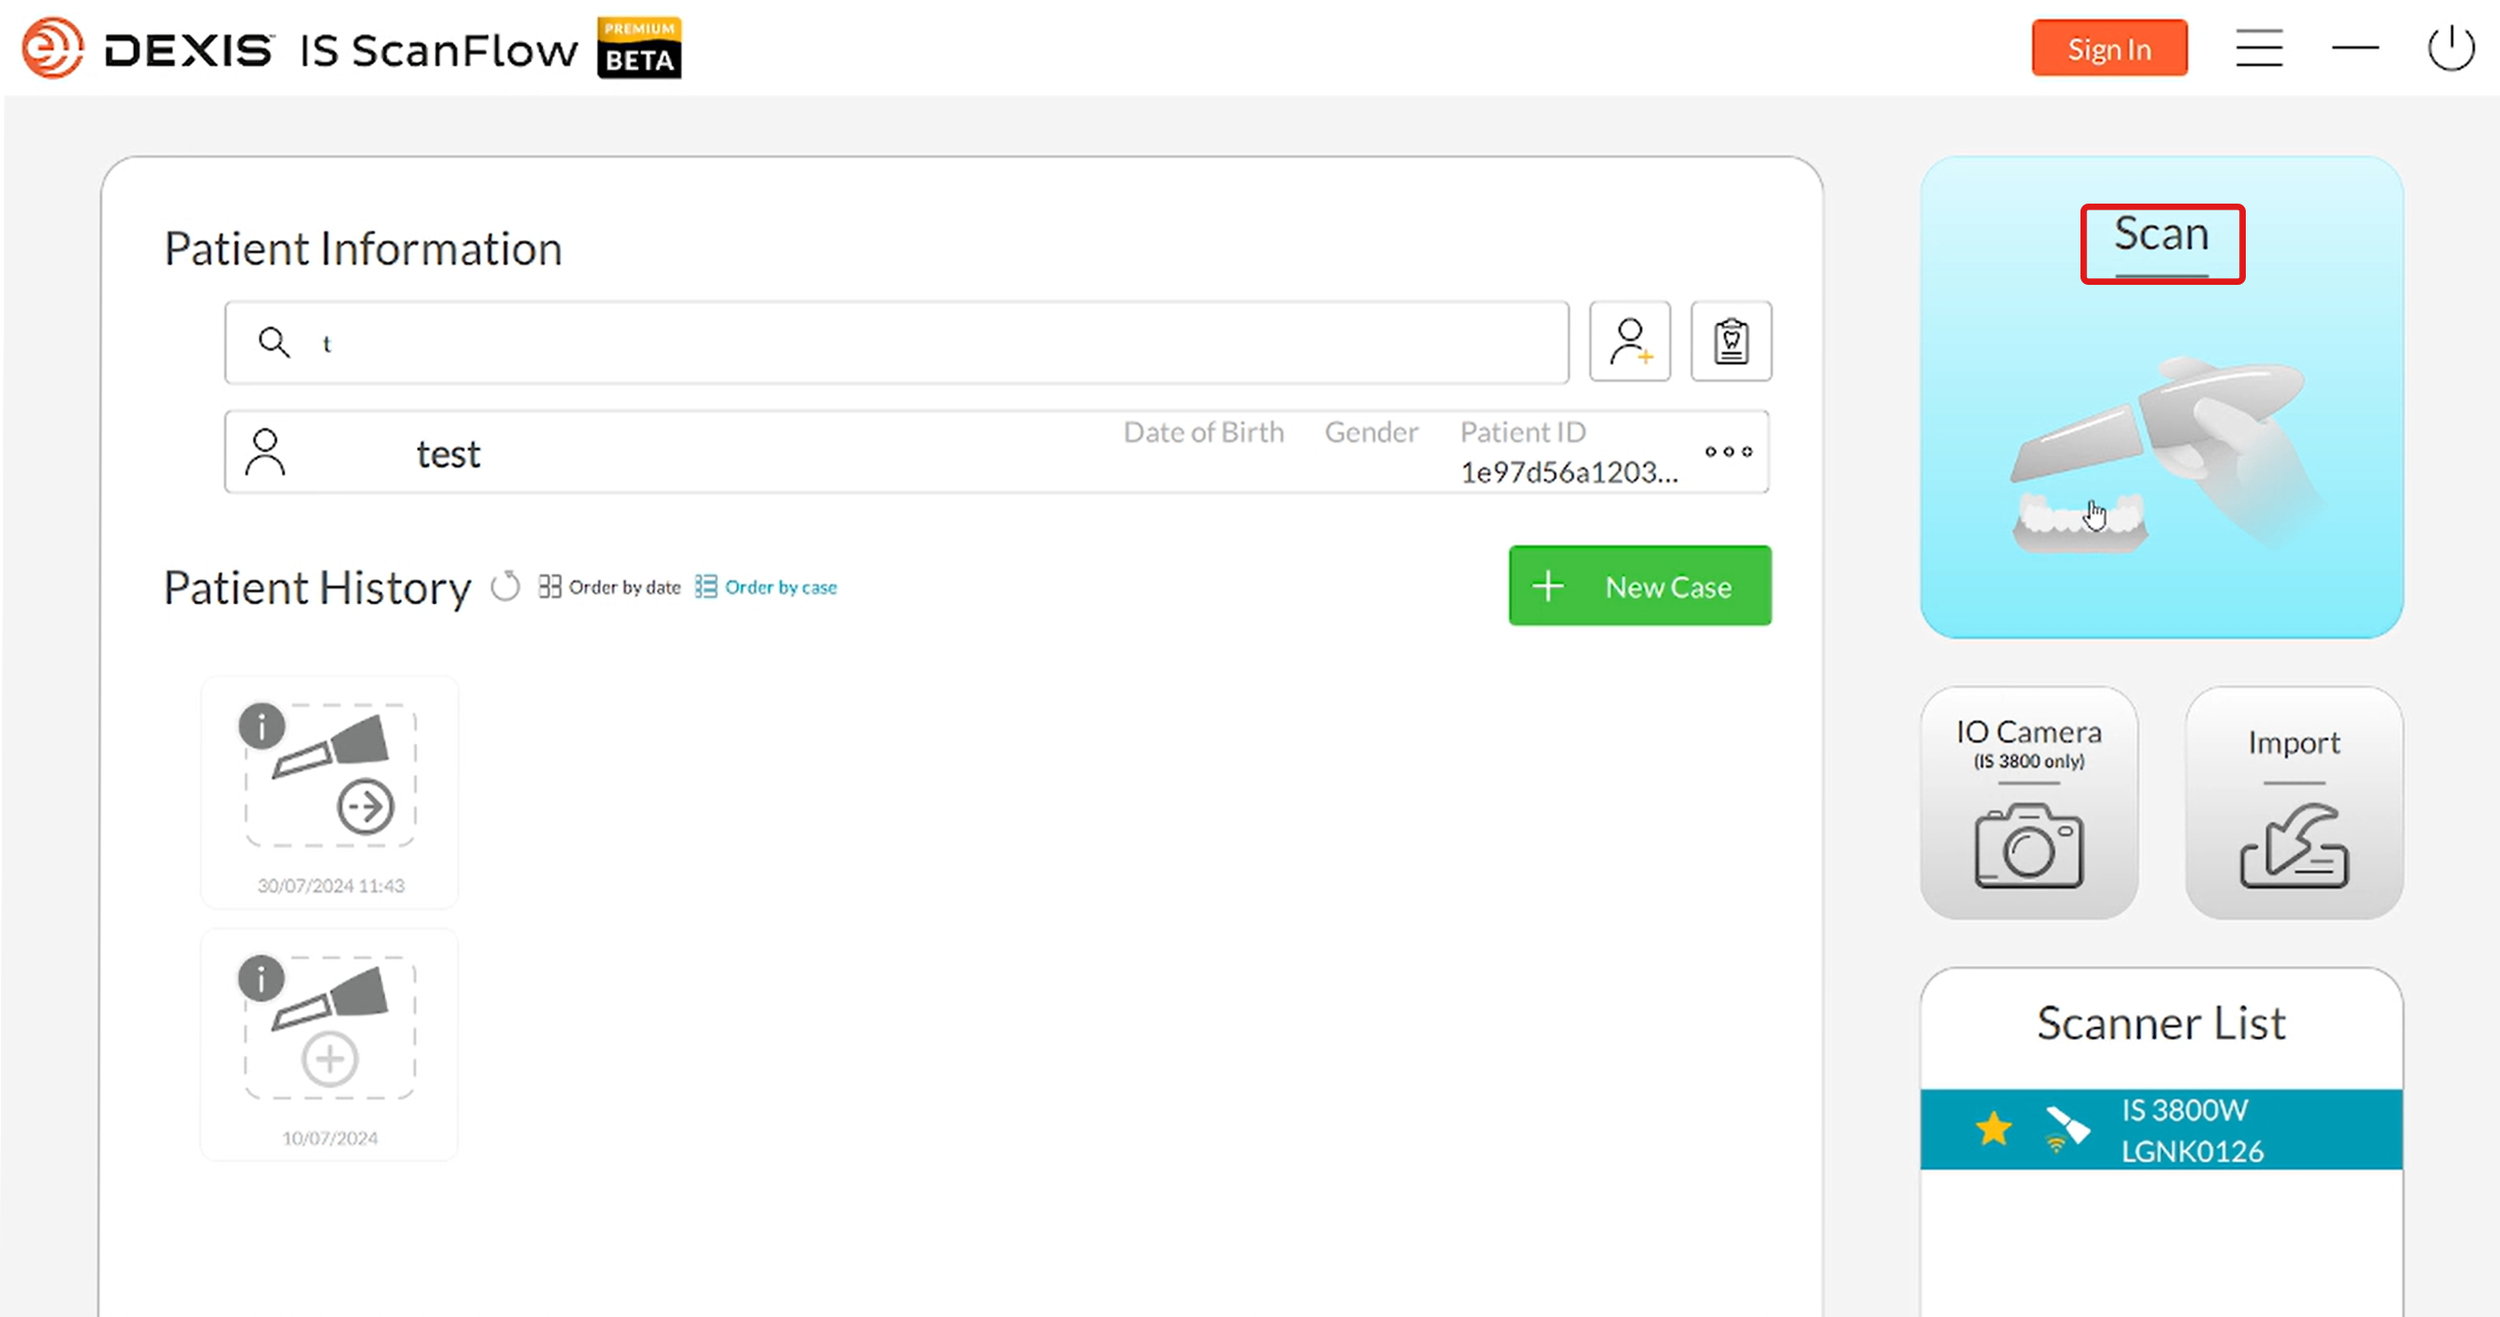
Log into Dexis’s IS Scanflow Software; Once logged in, input the patient details in the patient information display. Proceed to click “Scan” to begin the scanning process.
Step 2: Left to Right Scan Gauge Scan
Navigate to the AI Matching feature and enable the toggle. Ensure the Upper Arch window is selected, and proceed to scan left-to-right for the upper gauge scan.

Step 3: Save
Once the scan is completed, click "Save" in the menu to save the scan.

Step 4: Right to Left Scan Gauge Scan
Switch to the lower Arch window and perform the right-to-left scan for the lower gauge scan. After completing, click "Save" to store the data.

Step 5: Scan Optimization
Once both arches are scanned, click on the "Check" icon located at the top of the screen to start the optimization process for both scans.

Step 6: Refine Analysis
Proceed by clicking the "go to send" button to save and export the scanned data.

Step 7: Export Files
After Check & Refine, click the "Export" button to begin exporting the scanned data.

Step 8: Save and Upload to the Nexus Portal
In the export tab, select the desired local directory to save the respective files in STL format. Once the files are saved, manually export the scans in the Nexus Portal..
